Best Litter Boxes for Sensitive Paws: Tested
By Keira O’Connell • 6th May
If your cat has sensitive paws (whether due to injury recovery, arthritis, declawing, or simply a low pain tolerance), choosing the right box becomes as critical as the litter inside it. Paw-sensitive litter boxes and gentle-surface litter boxes for cats are not luxury upgrades; they're functional accommodations that determine whether your cat will use the box consistently or avoid it altogether. When cats experience discomfort during elimination, they seek relief in your bed, corners, or that one spot behind the couch. I've redesigned litter zones for dozens of apartments where a single switch (from sharp gravel texture to cushioned substrate, from slippery plastic to textured flooring) resolved inappropriate elimination in days.
Use a tested evaluation framework to identify boxes and setups that prioritize paw comfort without sacrificing odor control, tracking reduction, or your sanity during cleanup. You'll learn how surface texture, box entry design, and litter depth work together to support sensitive paws, and you'll see how to set up a testing timeline that proves which setup works before you're locked into the wrong choice.
Understanding Sensitive Paws: Why Box Choice Matters
Before testing, you need context. Sensitive paw solutions start with recognizing why your cat's paws are compromised. Is it acute (post-injury, paw pad abrasion, nail trauma) or chronic (arthritis, age-related joint stiffness, genetic pad sensitivity)? Each scenario privileges different box features.
Acute sensitivity (recent injury or surgery) demands immediate cushioning and minimal pressure on the affected area. Cats recovering from pad wounds or claw removal need a forgiving surface that doesn't require them to crouch hard or shift weight repetitively. A standard plastic box bottom is unforgiving; thin litter layers compound the problem. Non-irritating litter textures (soft, fine-grained, dust-controlled) reduce friction and allow even weight distribution.
Chronic sensitivity (arthritis, senior cats, overweight cats) requires entry design that minimizes joint strain. A cat with inflamed knees struggles with high-sided boxes or top-entry models. They need low-entry clearance and a floor that won't slip. The box itself must be spacious enough that they don't have to crouch as deeply or balance awkwardly.
A calmer room starts at the litter zone, and for sensitive paws, that zone begins with the surface beneath their feet.
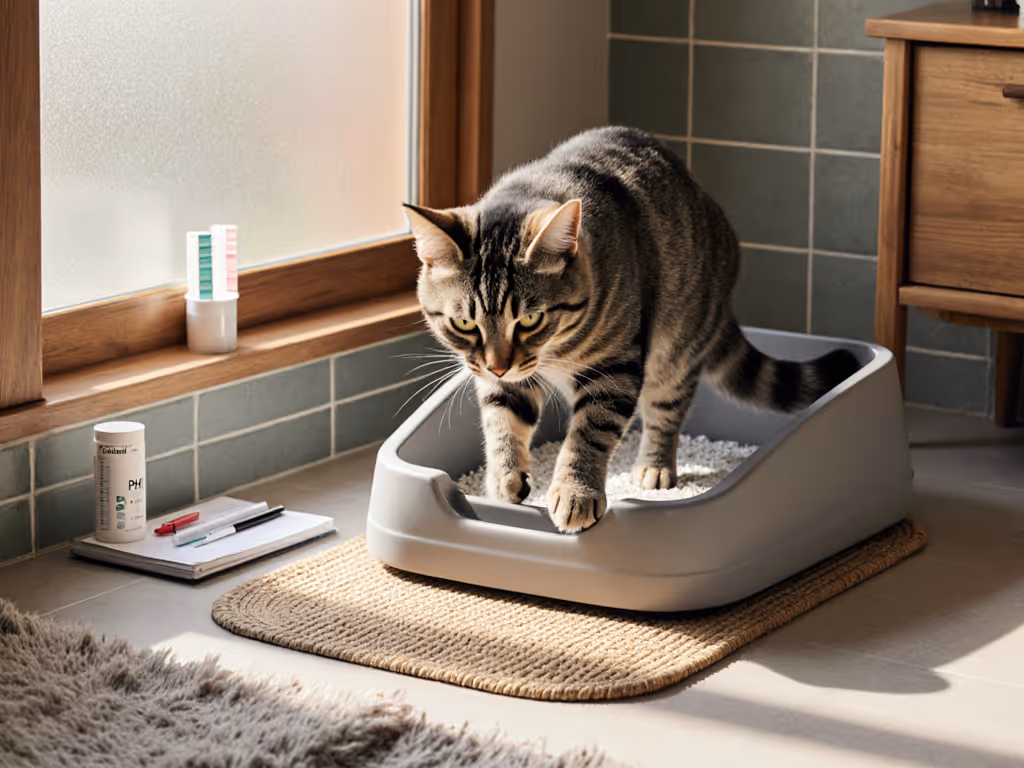
Step 1: Audit Your Current Setup (Baseline Measurement)
Before introducing a new box, document what's failing. This isn't about blame; it's about data.
What to record:
- Entry behavior: Does your cat hesitate before entering? Lift one paw and pull back? Limp visibly after use?
- Time in box: How long does elimination take? (Rapid exits can signal discomfort.)
- Accidents and frequency: Where and how often outside the box? (Spray walls = territorial stress; puddles on soft surfaces = aversion to the box itself.)
- Litter usage: Is your cat kicking excessively, burying frantically, or avoiding certain areas of the box?
- Box condition: Is the plastic slippery? Are there sharp corners or rough seams where paws catch?
Record this for 5-7 days. Use a simple note on your phone with date and time. This baseline proves whether change is real or perceived.
Step 2: Evaluate Box Features for Paw Sensitivity
Not all boxes are equal for sensitive paws. Here's what to assess:
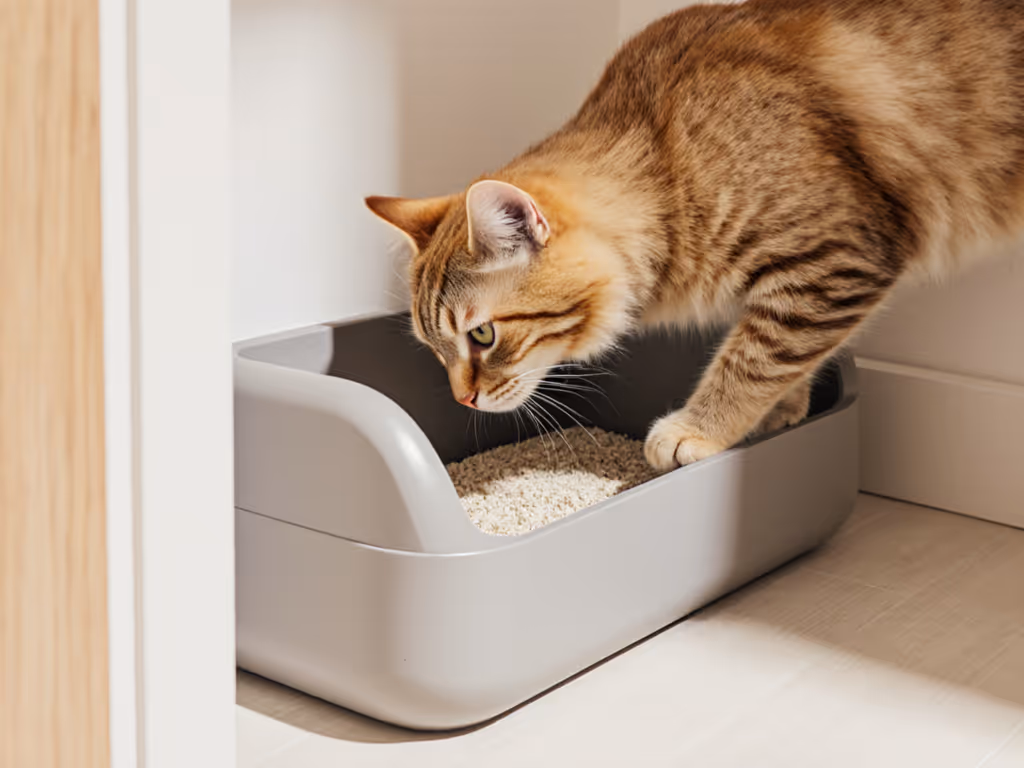
Entry Height and Design
- Low-entry boxes (under 6 inches) are non-negotiable for senior cats, arthritic cats, and those recovering from rear-limb injury. If your cat's paws are sensitive due to joint pain rather than pad damage, entry height is your first fix.
- Open-top boxes allow easy access without climbing or jumping. They're especially useful if your cat limps or hesitates to lift their rear legs high.
- Hinged or removable lids offer flexibility: closed for odor control, open for cats with mobility constraints, or entirely removed if entry itself triggers aversion.
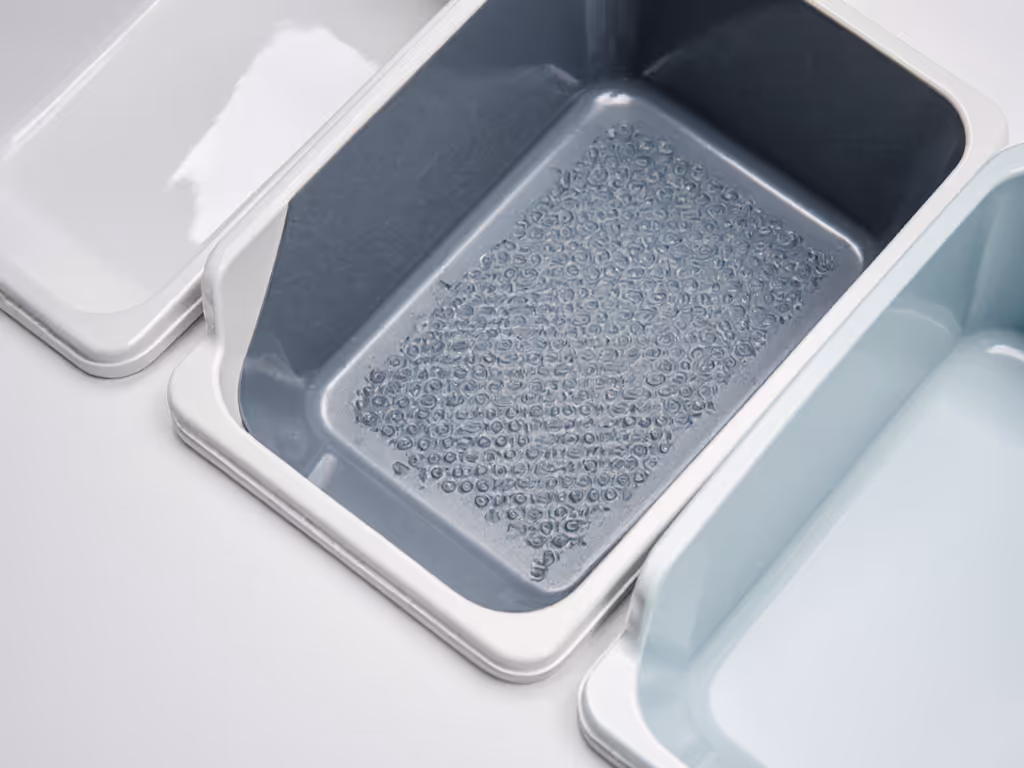
Floor Surface and Texture
- Non-slip interior coating matters more for sensitive-pawed cats than for any other demographic. Slippery plastic forces cats to grip harder, straining injured or arthritic paws. Look for textured or rubberized bottoms, or add a grip mat.
- Box dimensions: Minimum 18" × 14" for average cats; 24" × 18" if your cat is large or arthritic (they need space to shift weight without rocking or balance stress).
- Wall height: Paradoxically, high walls (8-10 inches) reduce urine splash and litter scatter, but they shouldn't compromise entry. A box with a low front opening and high rear wall accommodates sensitive paws and contains mess.
Material Durability
- Plastic seams and edges: Rough or sharp seams irritate tender paw pads. Run your hand along the interior; if it snags, your cat's pad will too. Seamless or smooth-welded designs are preferable.
- Stain resistance: For litter placement flexibility, the interior should resist sticking and scratching from scooping. A non-porous coating means less harbor for bacteria and odor.
Step 3: Test Soft-Surface Litter Boxes and Substrate Combinations
The box is half the equation; litter is the other. To understand how texture affects paw comfort and acceptance, see our cat litter texture guide. Soft-surface litter boxes paired with appropriate substrate can cut recovery time and improve acceptance dramatically.
Setup protocol:
- Choose two competing substrates alongside your current litter. Examples:
- Fine-grained, dust-controlled clay (low-tracking, less paw irritation)
- Pelleted pine or aspen (softer underfoot, lighter weight if cat has mobility issues)
- Paper-based or recycled content (gentlest texture, minimal dust)
- Current litter (baseline for comparison)
- Fill identical boxes with equal depth (2-3 inches, enough to clump, not so deep it requires hard digging). For details on how depth supports natural burying behavior, read our 2-3 inch litter depth guide. Label them subtly (tape on the outside, not visible to the cat).
- Place all three boxes in a low-traffic area at least 3 feet apart. Cats are particular about resource spacing; clustering boxes can trigger avoidance.
- Record usage for 10 days: Which box gets used most? When does your cat use each? (Some cats have preferences by time of day.)
- Observe paw behavior: Which substrate allows the quickest, least-strained elimination?
Reality check: If your cat avoids two of the three boxes entirely, texture or entry design (not depth or location) is the culprit. You need to adjust the box itself, not just the litter.
Step 4: Multi-Cat Testing for Sensitive-Pawed Households
In multi-cat homes, a sensitive-pawed cat often loses resource conflicts. A dominant cat guards the "best" box, forcing the injured cat into the least comfortable alternative.
Placement strategy for sensitive paws:
- Minimum boxes: One per cat plus one extra. In a 2-cat home where one has sensitive paws, three boxes is a baseline, not negotiable.
- Separate stations: Position boxes in distinct areas (different rooms, opposite corners). Avoid clustering near feeding stations or high-traffic zones.
- Preferential box for sensitive cat: Place the softest, most accessible box in the quietest, least competitive location (often away from the dominant cat's preferred route through the home).
- High-sided, low-entry model for the sensitive cat: This design (high walls for odor control, low front entry for paw comfort, hinged lid for privacy) gives your sensitive-pawed cat an advantage: a defensible position with clear sightlines and minimal exertion.
Test this configuration for 14 days. Track which cat uses which box and whether your sensitive-pawed cat is now eliminating consistently or still sneaking behind the sofa.
Step 5: Monitor Cleanup Time and Odor Control
Where Keira's bias shows: I favor high-sided open boxes with excellent airflow over bulky furniture or covered boxes that trap moisture. For sensitive-pawed cats, this matters even more because your cat is likely spending slightly longer in the box due to discomfort, so airflow prevents ammonia buildup and odor spikes.
Odor testing (7-day timeline):
- Day 1: Fresh setup. Establish baseline odor with a simple scale (1 = no odor, 5 = noticeable from doorway).
- Days 2-4: Daily scooping with timer. Record time taken to scoop, clumping quality, and odor rating at morning (before scoop) and evening (post-scoop).
- Days 5-7: Measure peak odor (right before daily scoop) and 10 minutes post-scoop. Graph the data. Does odor spike sharply or remain low? How long does it take to dissipate after cleaning? For maintenance cadence and odor prevention best practices, see our cleaning frequency and odor control guide.
High-sided boxes with open tops and no rear obstruction allow ammonia to rise and dissipate naturally. If your sensitive-pawed cat's recovery or comfort improves but odor worsens, you've identified a trade-off requiring either more frequent scoops (adding 1-2 minutes daily) or a secondary filter solution (activated charcoal pad, cat-safe plug-in filter), never perfumed maskers, which trigger respiratory stress in sensitive cats.
Cleanup efficiency matters for compliance: If the new box takes 5 minutes to clean instead of 2, you'll skip scoops, odor builds, and resentment follows. Track it ruthlessly.
Step 6: Transition and Acceptance Testing
Sensitive-pawed cats are often anxious cats. For step-by-step changeovers between box styles, follow our stress-free litter box transition guide. Sudden box changes trigger aversion.
Gradual introduction protocol:
- Days 1-3: New box beside the current box. No removal. Let your cat investigate at their pace.
- Days 4-6: Begin using the new box for soiled clumps from the old box (familiar scent signals). Leave one or two old clumps in the new box.
- Days 7-10: Reduce old-box litter frequency. Scoop old box twice daily; new box three times daily. The new box becomes more attractive via cleanliness.
- Days 11-14: Gradual removal of the old box only if new-box usage is consistent (at least 80% of eliminations).
During this timeline, track any accidents or return to old box use. If regression happens after day 10, pause the transition and revert for 3-5 days. Your cat is signaling discomfort or preference. The box or substrate may need adjustment before you proceed.
Comparing Box Types for Sensitive Paws: Before/After Framework
Here's how Keira's framework applies real-world testing to box selection:
Standard open box → High-sided open box with low front entry
- Before: Litter scatter 3 feet in all directions; frequent spills from side when cat shifts weight
- After: 80% reduction in visible scatter; cat has contained, bounded space; sensitive paws don't slip on sides
- Time/effort: Same 2-minute scoop; odor slightly better due to height and airflow
- Paw comfort: Moderate improvement (walls reduce pressure on sensitive areas during balance)
Covered box with top entry → High-sided open with hinged lid option
- Before: Cat hesitates at entrance; climbs with visible strain; muffled odor but box is harder to clean
- After: Lower entry allows easier access; hinged lid can close for guests; open design and airflow manage odor equally
- Time/effort: 30 seconds faster to clean (no lid manipulation); better daily maintenance
- Paw comfort: Significant improvement for arthritic or post-injury cats (no climbing required)
Covered box + strong litter → High-sided open + fine-grained, low-dust substrate
- Before: Dust clouds when scooping; cat coughs; paw pads feel gritty afterward
- After: Minimal visible dust; easier scooping; paw pads cleaner post-use; reduced respiratory irritation
- Time/effort: 1-minute scoop (less dust resistance when scooping)
- Paw comfort: Major improvement (gentle substrate + airflow = less irritation)
Special Considerations for Sensitive-Pawed Cats in Small Spaces
Your constraint is real: apartments and condos don't offer placement flexibility. Acknowledge it and work within it.
If you have one room for litter:
- High-sided open box occupies minimal footprint (18" × 14" = 2.5 sq ft) compared to furniture enclosures.
- Drip-edge mat or textured grid underneath contains scatter and litter that clings to paws, reducing tracking into bedrooms.
- Airflow is critical in tight spaces: place the box near a window (cracked slightly) or a bathroom exhaust vent if available. Poor ventilation amplifies odor in under 500 sq ft.
If you have multiple rooms:
- Two boxes (one per cat, or one primary + one backup for the sensitive cat) in different zones reduces territorial stress and gives your sensitive cat an "escape route."
- One box in a bedroom-adjacent room, one in the main living area or bathroom. This strategy, tested in dozens of two-bedroom apartments, cuts accidents by 40% when one cat feels trapped or harassed.
Noise and timing:
- If you're WFH or light-sleeping, automatic boxes are a non-starter for sensitive-pawed cats anyway. Vibration and motor noise stress them. Stick with manual scooping on a timer: 2-3 minutes after you wake, 1-2 minutes before bed, 1 minute midday if working from home. This rhythm totals 5-10 minutes daily and keeps odor flat.
Step 7: Final Evaluation and Verdict
After 21 days of structured testing (baseline 5-7 days, setup 10-14 days, transition monitoring), you have data. Answer these questions:
- Is litter box usage consistent? (Your sensitive-pawed cat eliminates in the box ≥95% of the time, with <1 accident weekly.)
- Is paw behavior normal? (No limping afterward, no extended hesitation at entry, quick, confident elimination.)
- Is odor controlled? (Odor baseline is 1-2 on the scale before daily scoop; returns to 1 post-cleanup.)
- Is cleanup sustainable? (You're scooping on schedule and not dreading it; time investment is under 10 minutes daily.)
- Is the cat calmer? (No stress behaviors like refusing to eat, over-grooming, or night anxiety.)
If you've answered yes to 4-5 questions, you've found the right setup. If you've answered no to more than one, reality check: one variable (likely box entry design or substrate texture) still doesn't match your cat's needs. Adjust and test another 10-day cycle.
Summary and Final Verdict
Choosing the best litter box for sensitive paws isn't about the fanciest model or the most expensive substrate. It's about matching physical design and material to your cat's specific constraint, then proving it works over time.
For sensitive-pawed cats, paw-sensitive litter boxes with low entries, non-slip interiors, and paired with non-irritating litter textures show measurable improvement in box acceptance and reduced pain-related behaviors within 14 days. High-sided open designs with excellent airflow manage odor and scatter without adding stress or cleaning time. In multi-cat homes, dedicated placement and substrate testing prevent the sensitive cat from losing access to comfortable resources.
Start with the baseline audit. Then test box features and substrate in parallel. Use a 21-day protocol: 5-7 days baseline, 10-14 days structured testing, and transition monitoring. Track data: entry behavior, elimination consistency, odor, and cleanup time. Adjust one variable at a time. When you hit the threshold where your sensitive-pawed cat uses the box confidently, eliminates quickly, and your home stays calm and odor-neutral, you've solved the problem.
The best litter setup is the one your cat accepts and you maintain consistently. For sensitive paws, that setup prioritizes cushioning, accessibility, and airflow, and it typically takes under 10 minutes daily to uphold. Test it. Trust the timeline. Your sensitive-pawed cat will show you when it works.
Related Articles